
From July until the end of September, CrossFit Prototype will be posting a blog per week as part of our Accessory Series. These blog posts will review 1 of the 13 CFP foundational movements (Air Squat, Back Squat, Front Squat, Deadlift, Kettlebell Swing, Pull-Up, Overhead Press, Push Press, Push Jerk, Clean, Snatch & Rowing) and provide tips on accessory exercises to help improve that area of your CrossFit game!
By Caitlin Pond (CF-L1, caitlin@crossfitprototype.com)
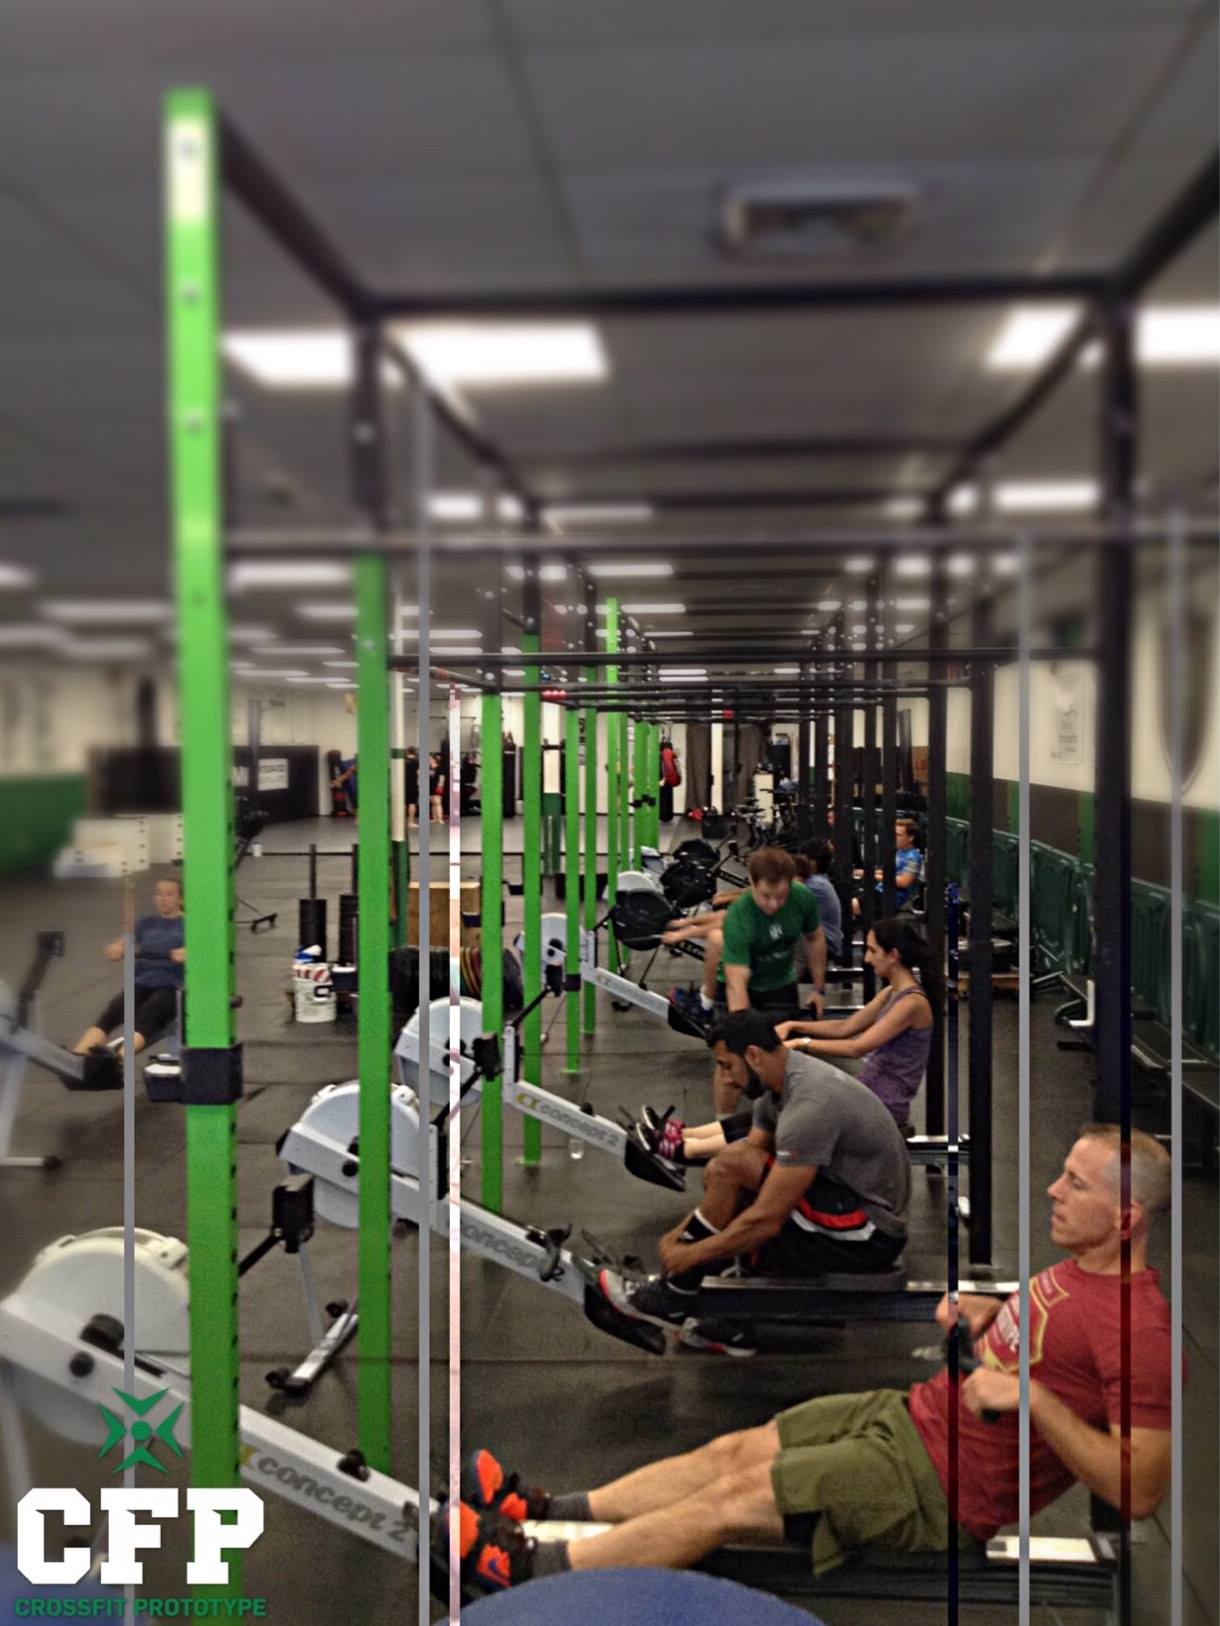
Row, Row, Row your Erg gently down CFP, merrily, merrily, merrily life is bout dem gains….
Rowing is a great cardio workout and when done efficiently and correctly can be a game changer in workouts. Believe it or not, most of it is set-up and strategy. The rest of it is having a good endurance base.
Endurance is something you are going to have to train and want to get better at (that’s for my endurance class ? ). The set-up is something we are going to fix today!
Below I have written out basic set-up, form and strategy that should help improve your rowing.
First things first
One of the MOST popular asked questions from any CrossFitter is what setting do I use….
The setting – or damper – works just like the gears on a mountain bike. The fan cage controls how much air flows in. The 1-10 indicates how much air is drawn into the cage on each stroke. The higher the setting or damper (6+), the more air allowed in. The more air in the cage equals more work to spin the fan. This then slows the fan down faster during recovery.
This means it requires more work to accelerate it on the next stroke.
The lower settings on the damper (1-5) allows less air in making it easier to spin. So just like the bike analogy earlier, it affects the feel, but does not directly affect the resistance.
The damper has nothing to do with the intensity level or resistance!
Your legs are in control of the intensity.
By increasing your effort, you increase your intensity. Having your damper too high can exhaust your muscles. You need to experiment with which damper works best for you.
The best way is to give this damper workout a shot:
- Row 100m at a damper setting of 1, 3, 5, 7, 9
- Try to keep your stroke rate around 24.
- Track how long it takes at each setting.
You will discover quickly which one you prefer. If doing an extra workout does not appeal to you my suggestion is to do the workout but also start between a damper setting of 3-5.
Just remember: lower setting = aerobic workout and higher = strength workout.
Let’s Talk About Set-Up
Once we have our damper setting let us get our feet in place.
The strap should be secured just above middle of the foot. This will allow you to really use your legs in the drive phase of the row. For me, with a size 7.5 shoe, I typically use a 2 or 3 on the setting.
Now that our feet are locked in; it’s time to get handsy.
Our hands should have a wide grip to help with the pull. You also want to avoid a death grip on the rower. That will fatigue your rowing and potentially do damage to the rest of your workout. A nice light grip will do.
You have your damper set, your legs locked in and a proper grip on the rower. Now it is time to get rowing.
Start by leaning in (start small), drive hard through your legs (think of a deadlift) and, as soon as your knees are STRAIGHT, pull those arms and make yourself long.
Do NOT pause.
As soon as you stop moving so does the fan and it makes it that much harder to pull. As you finish immediately and quickly push your hands to your feet, close the hips, bend your knees lean in, do NOT pause, and repeat!
Stroke Rate
Now that your rowing mechanics and set-up are taken care of, you might be noticing your stroke rate. What does that tell you? Does a higher stroke rate mean a better workout?
A piece of advice I can give you is stop worrying about how quickly you move up/and down. Take your time on producing as much power into each pull. It is not about speed but power.
You should always be shooting for a stroke rate around 24-30 strokes/minute.
One way to work on your stroke rate and really feel a difference is doing this:
- Row with a stroke rate of 28-30 and note your pace for a 500
-
Every minute try and reduce your stroke rate, EMOM style:
- Minute 1-row with a stroke rate of 30 note your pace
- Minute 2- row with a stroke rate of 28 note your pace
- Minute 3- row with a stroke rate of 26 note your pace
- Minute 4-row with a stroke rate of 24 note your pace
Tips!
- Relax on the “recovery phase”. This phase is once you are done pulling and have made yourself long (think handle to chest). Take your breath but DO NOT stop. As you begin to push your hands to your feet use that forward momentum created from pushing your hands away and let your legs relax as they bend. Then re-enter the “drive phase” and repeat.
- Always remember quick, explosive, transition from recovery to drive. NO Pauses. Any stop/pause slows the wheel/fan and requires MORE energy to start it up again.
- Think arms bend power ends. If you bend your arms before your knees are straight in the drive phase, you lose the power of your pull. Be patient!
- Move the handle in a Straight line. At no point should you hear the chain clanking around. It’s not about how fast you pull and how aggressive you are. It is a controlled power output. The chain not moving in a straight line affects the path and therefore slows you down.
- Keep arms and hands relaxed. Grip too hard or pull too early kills energy and tires you out.
Hope this helps if you need any more tips or tricks you can contact me at caitlin@crossfitprototype.com.
Endurance sessions Sundays 9am at WHS!