
CrossFit-Personal Training-Nutrition-Recovery-Performance Coaching in Westborough
Rated Westborough’s Top Fitness & Coaching Gym
"We Meet You Where You Are—And Help You Reach Your Next Level"
We're here to help
Do You Struggle With:
Accountability
Do you find it hard to hold yourself accountable? Our team of coaches and personal trainers are here to be your guides on your fitness journey!
Nutrition
Have you tried every diet but still struggle with losing weight? Our registered dietician and team of nutritionists can develop a specific program for you to get the results you want!
Motivation
Have you started exercising before but couldn’t stick with it? We make fitness fun AND manageable so you will enjoy the process as you get amazing results!
Time Management
On a time crunch? Always busy? We get you in and get you on your way with our 30 minute, 45 minute and 60 minute group class and personal training options.
benefits & outcomes
Why Choose Prototype Training Systems?
Lose Fat & Keep Muscle
Our integrative process of personal training, group classes and nutrition coaching will help you lose body fat and maintain muscle!
Build Strength & Resilience
Build a stronger and more resilient mind and body with our training approach!
Stress Less, Live More
We help you shut your brain off and have fun while you get fit. It’s the perfect recipe for reducing your stress!
Boost Energy & Performance
Your workouts will leave you feeling more energized and ready to take on the day!
Sleep Better, Feel Better
You’ll sleep better than you ever have!
Become Your Best Self
We focus on all the pillars of your health and fitness, helping you be better!
fitness programs for everyone
Our Programs
We offer group classes ranging from beginner to advanced, and also offer nutritional guidance and personal training.
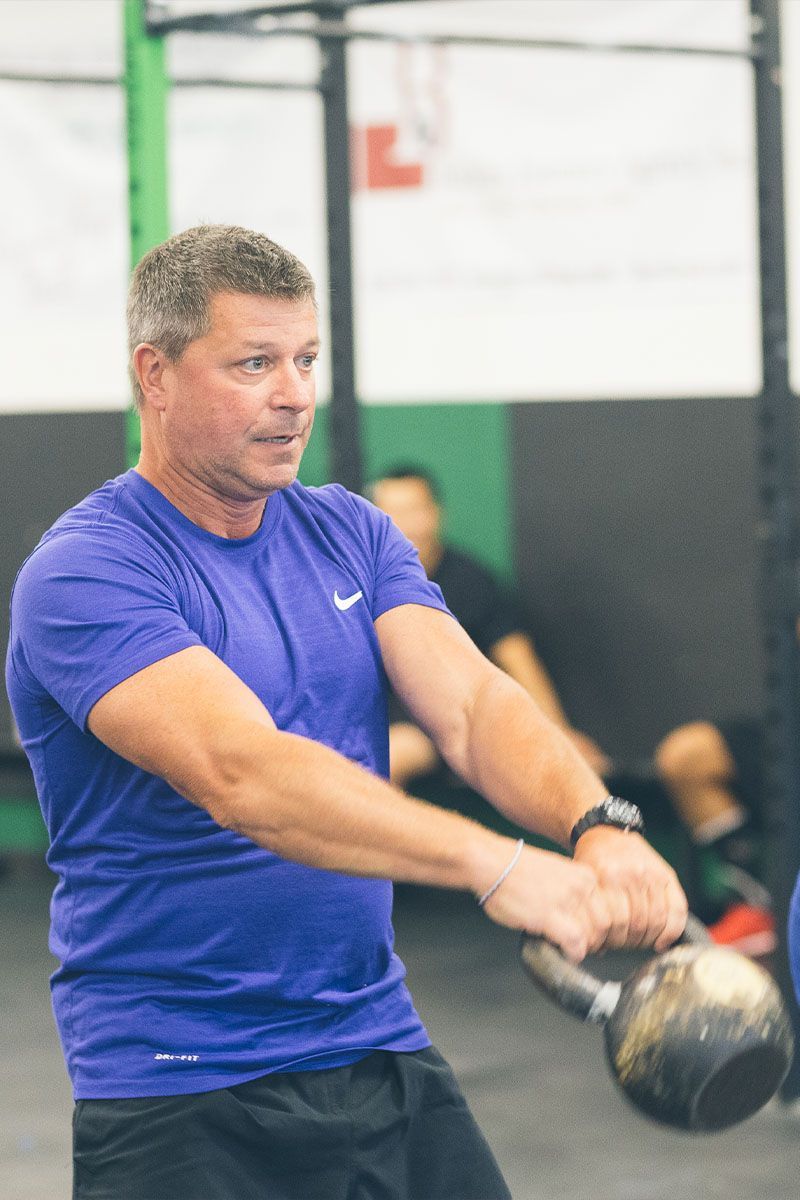
Adult Group Classes
CrossFit Prototype is Prototype Training Systems CrossFit affiliate in Wstbourough, MA
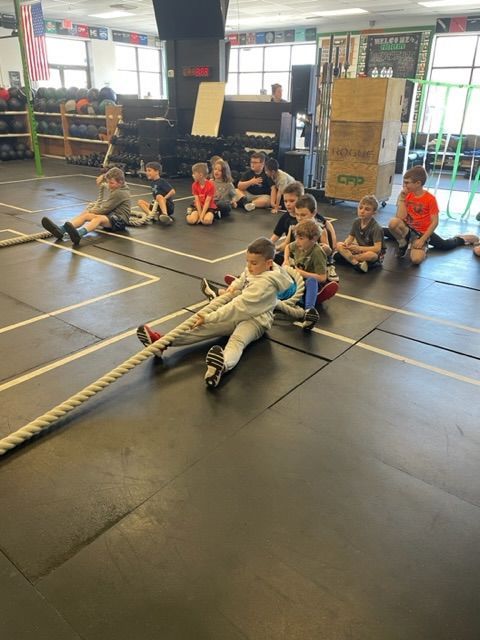
Kids Group Training
Helping local youth develop strong, heathy habits with fitness and teamwork
Custom Training Programs
Westborough's premier personal training programs; private & small group training
Grow Yourself,
Grow Others
Our goal at Prototype Training Systems is to build the GREATEST relationship business for our clients and cultivate the greatest human development culture for our team members.
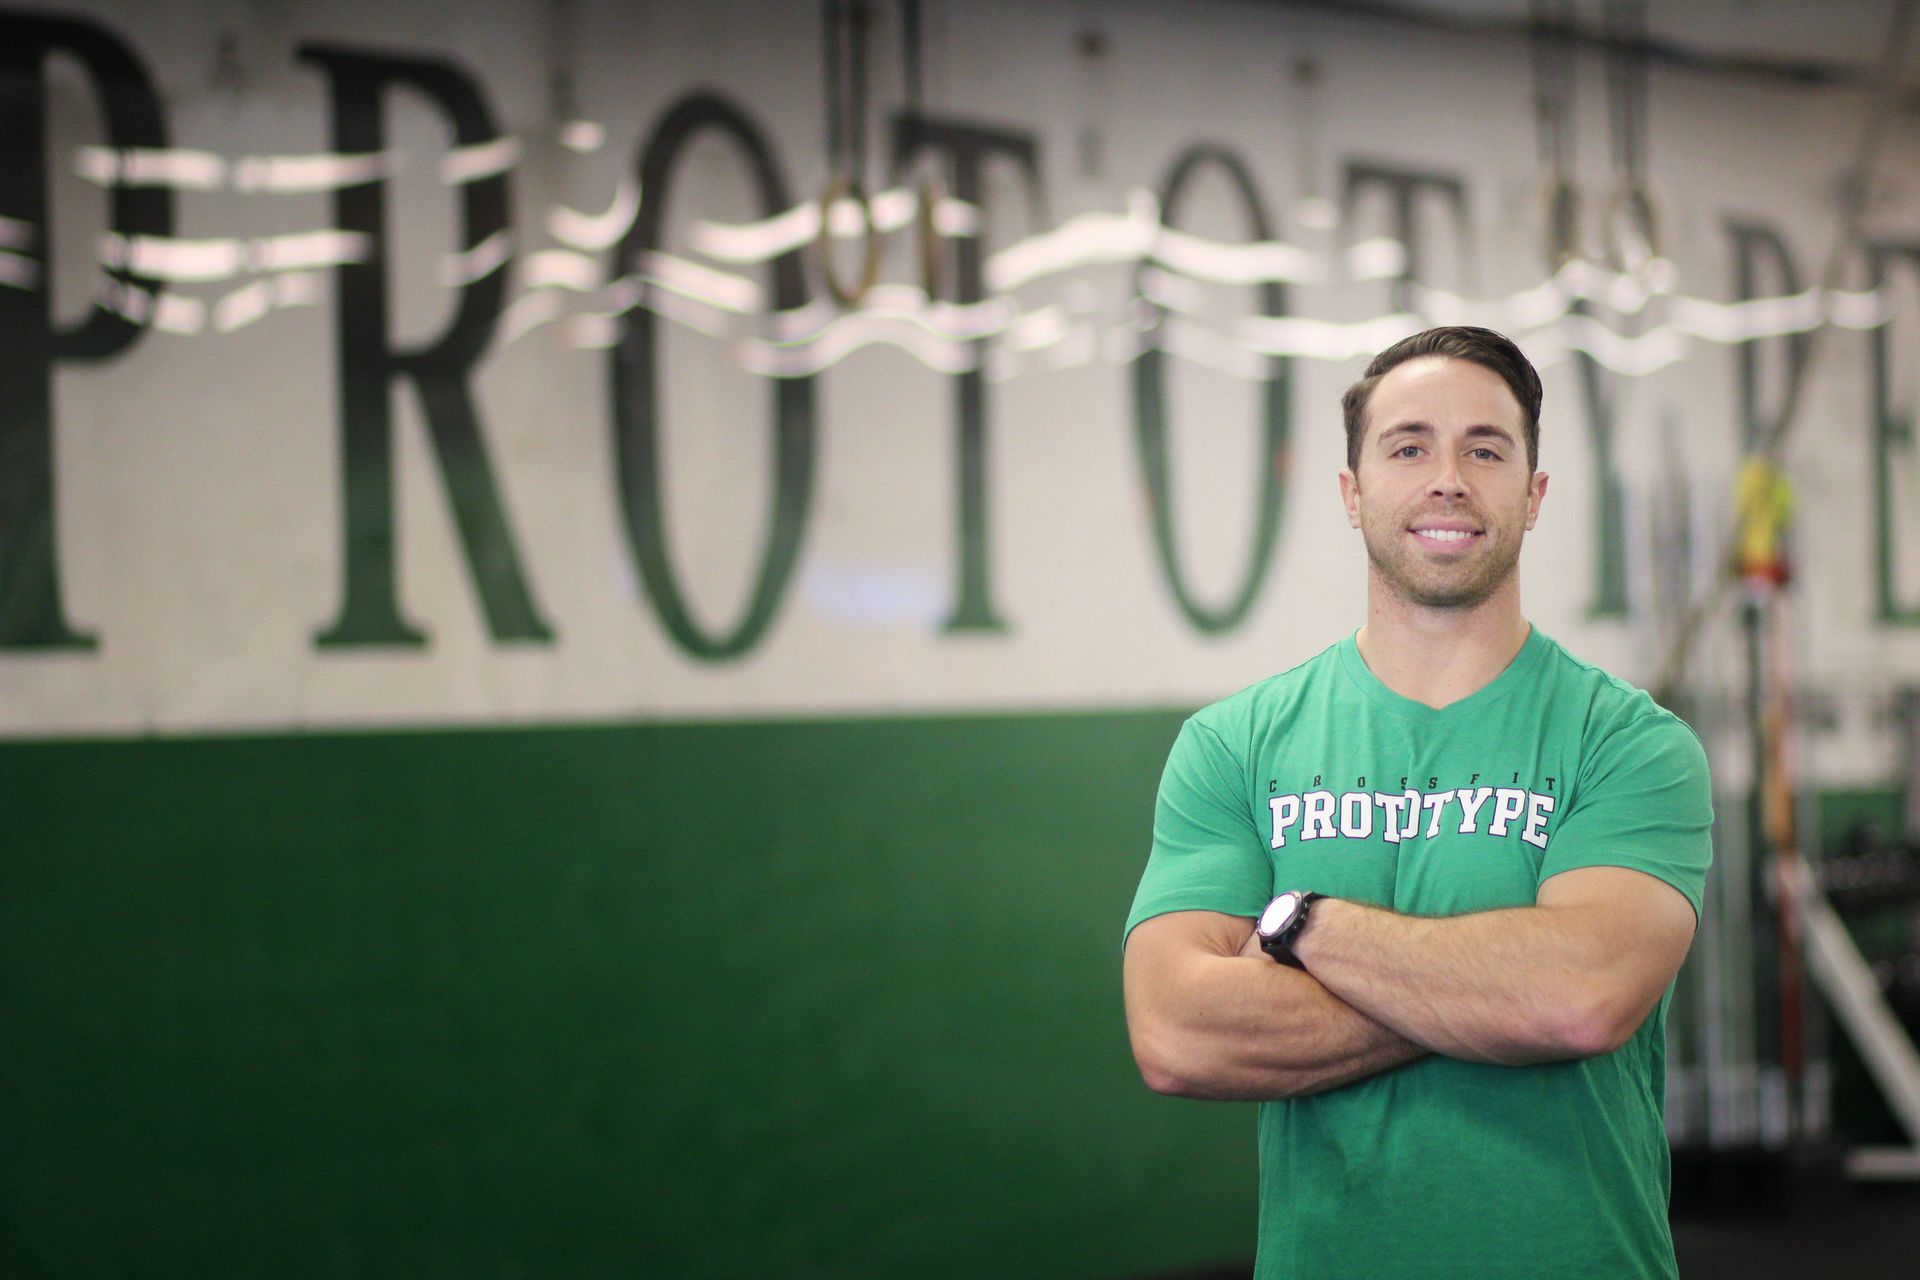
Meet your guides
Our Team
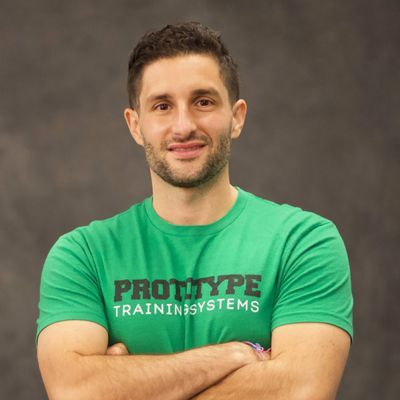
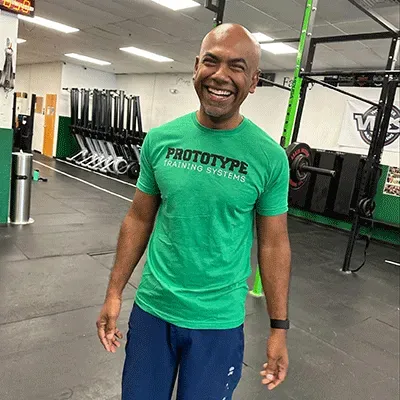
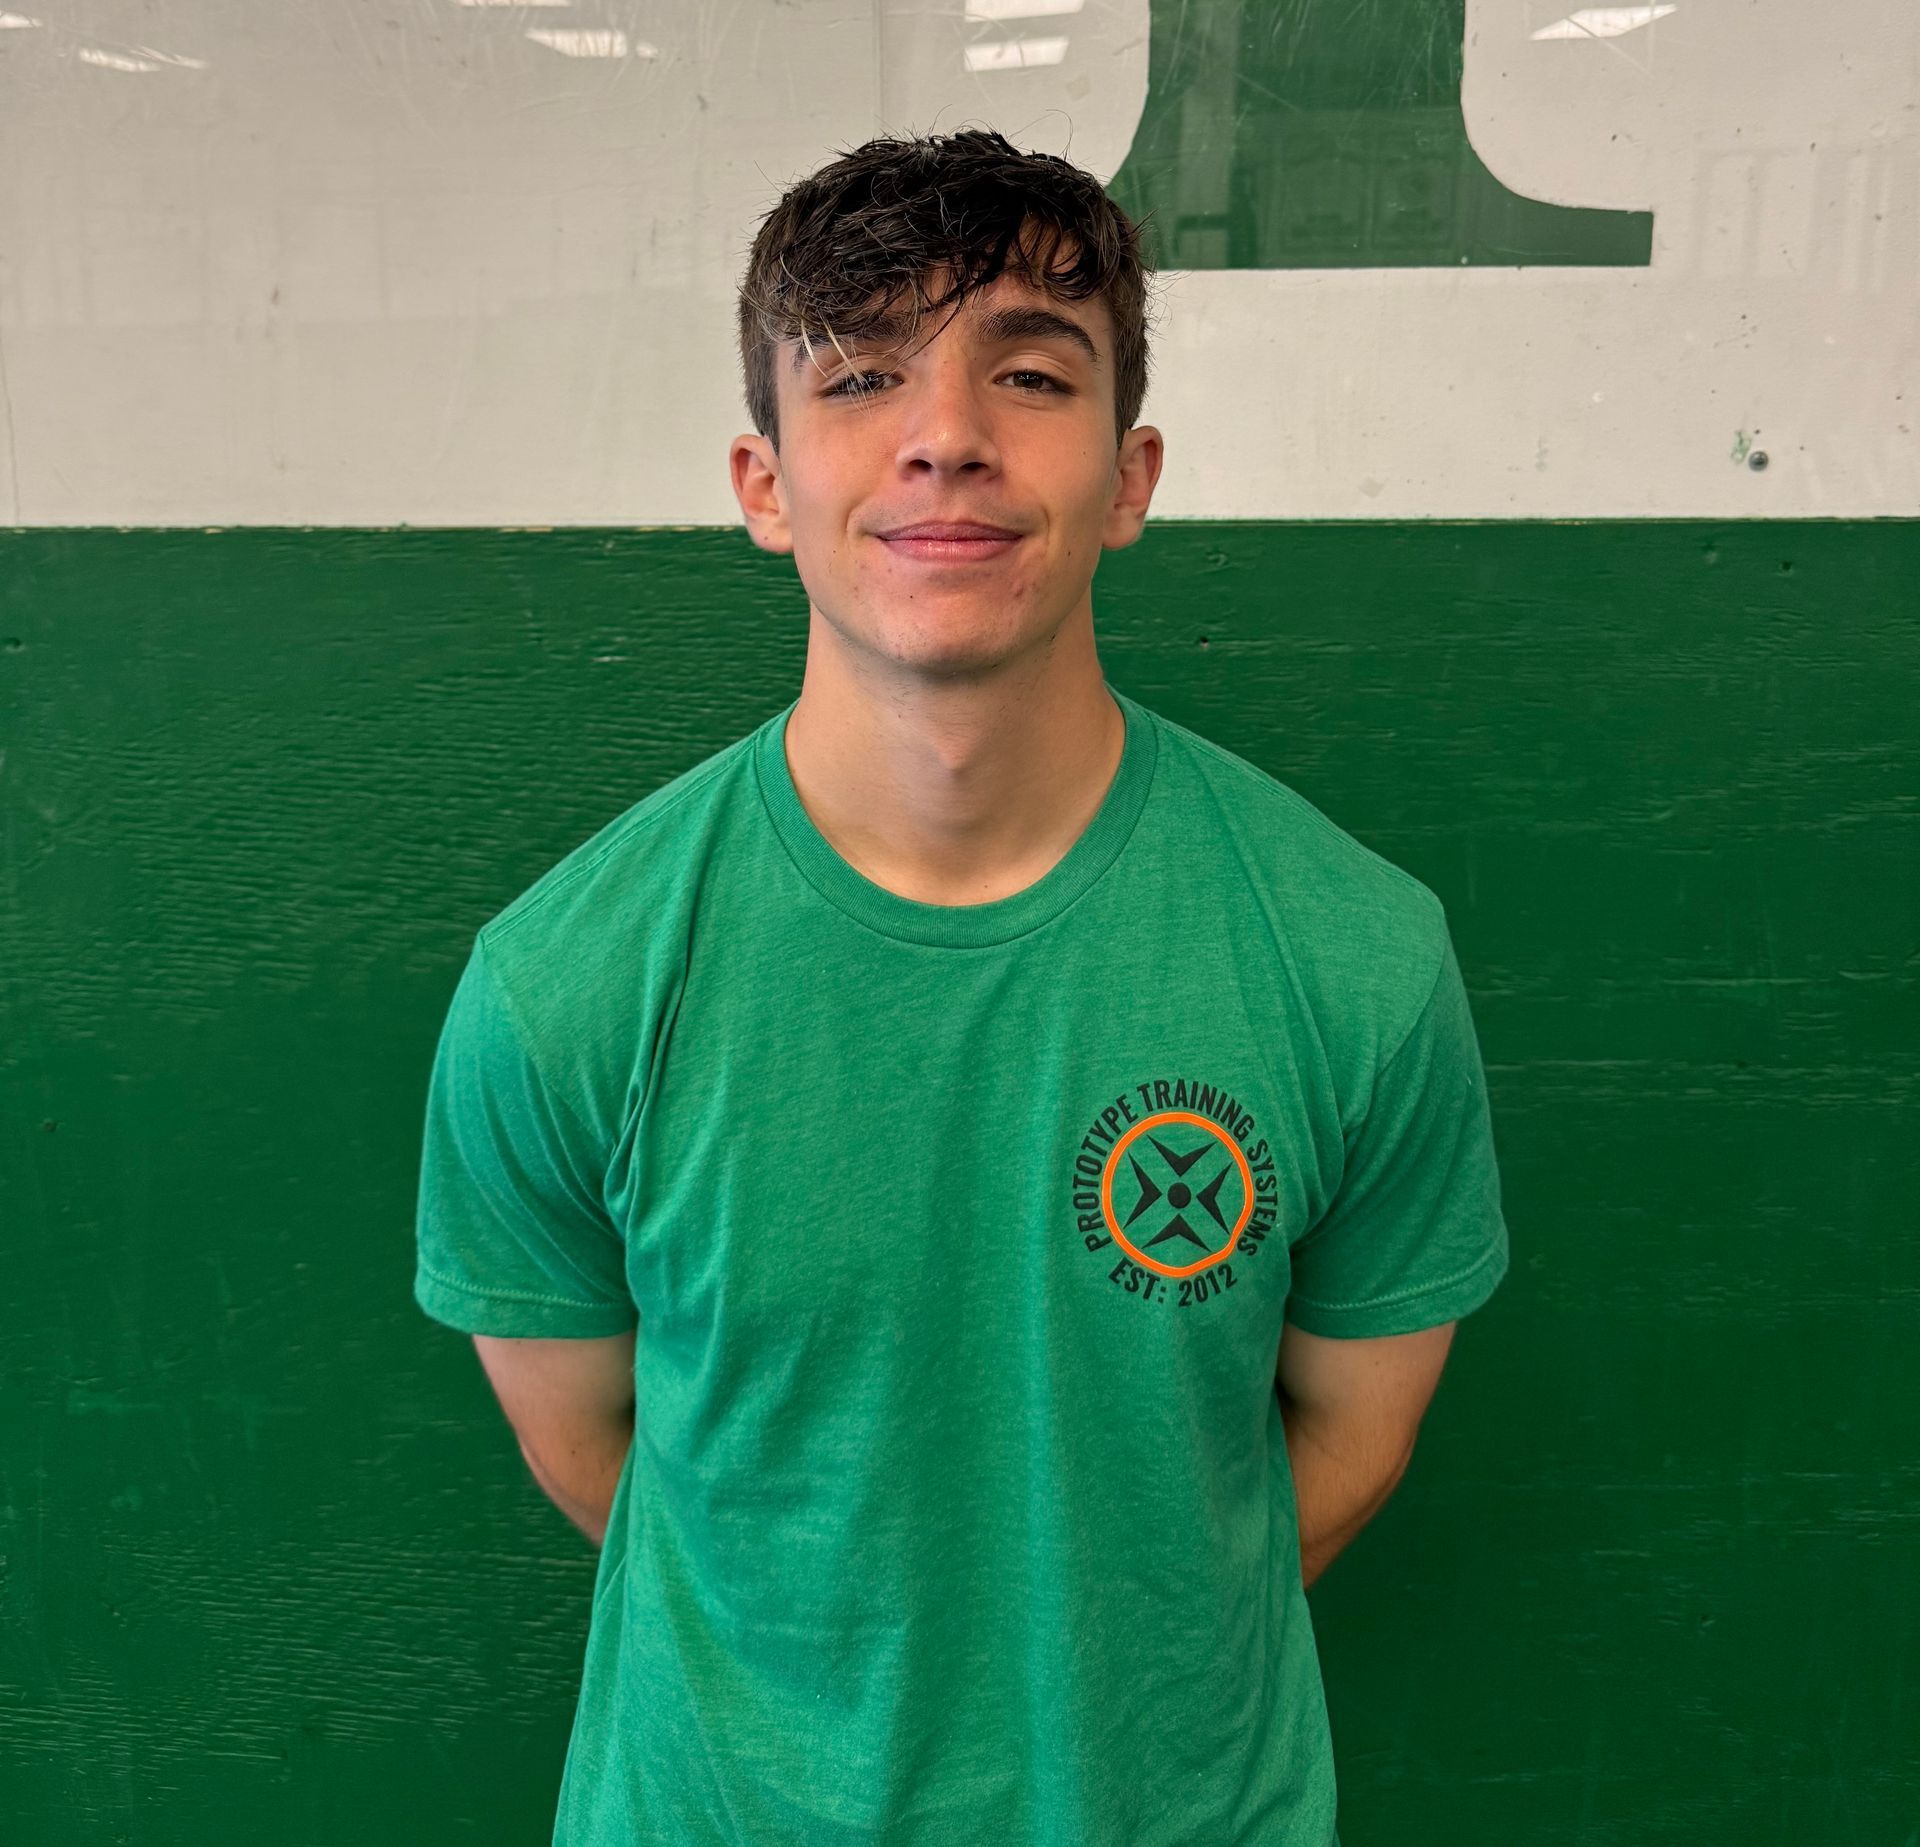
Michael Collette
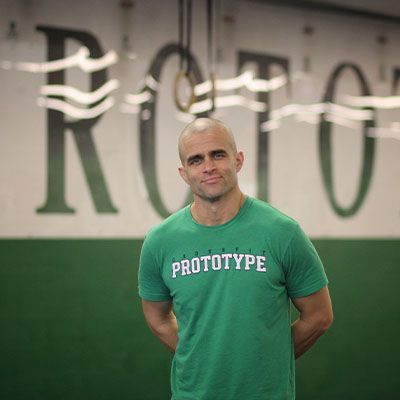
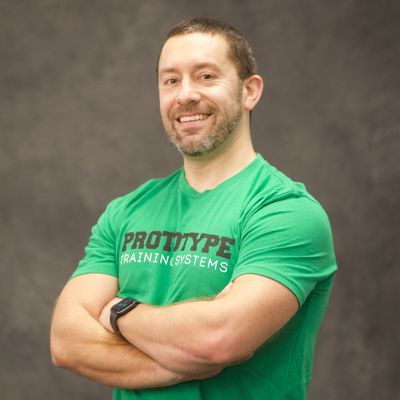
Steve Cimino
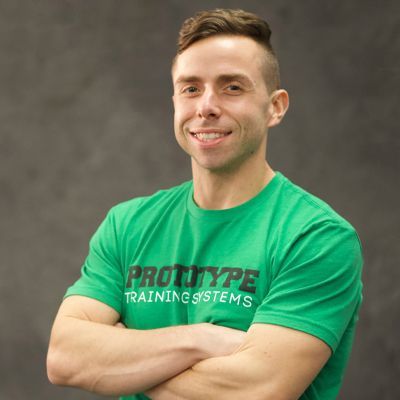
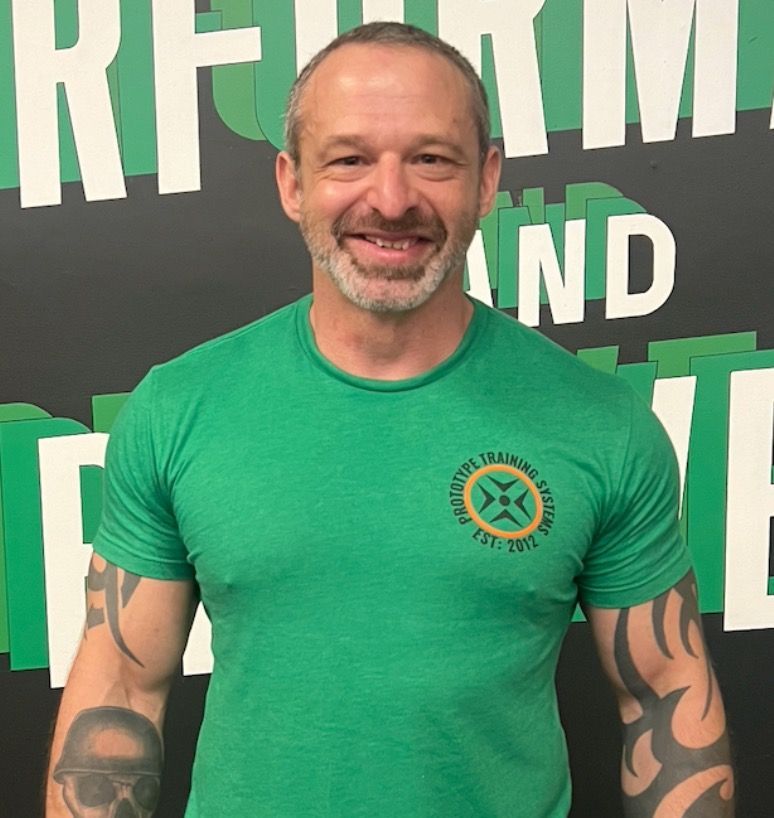
Brian Zancewicz
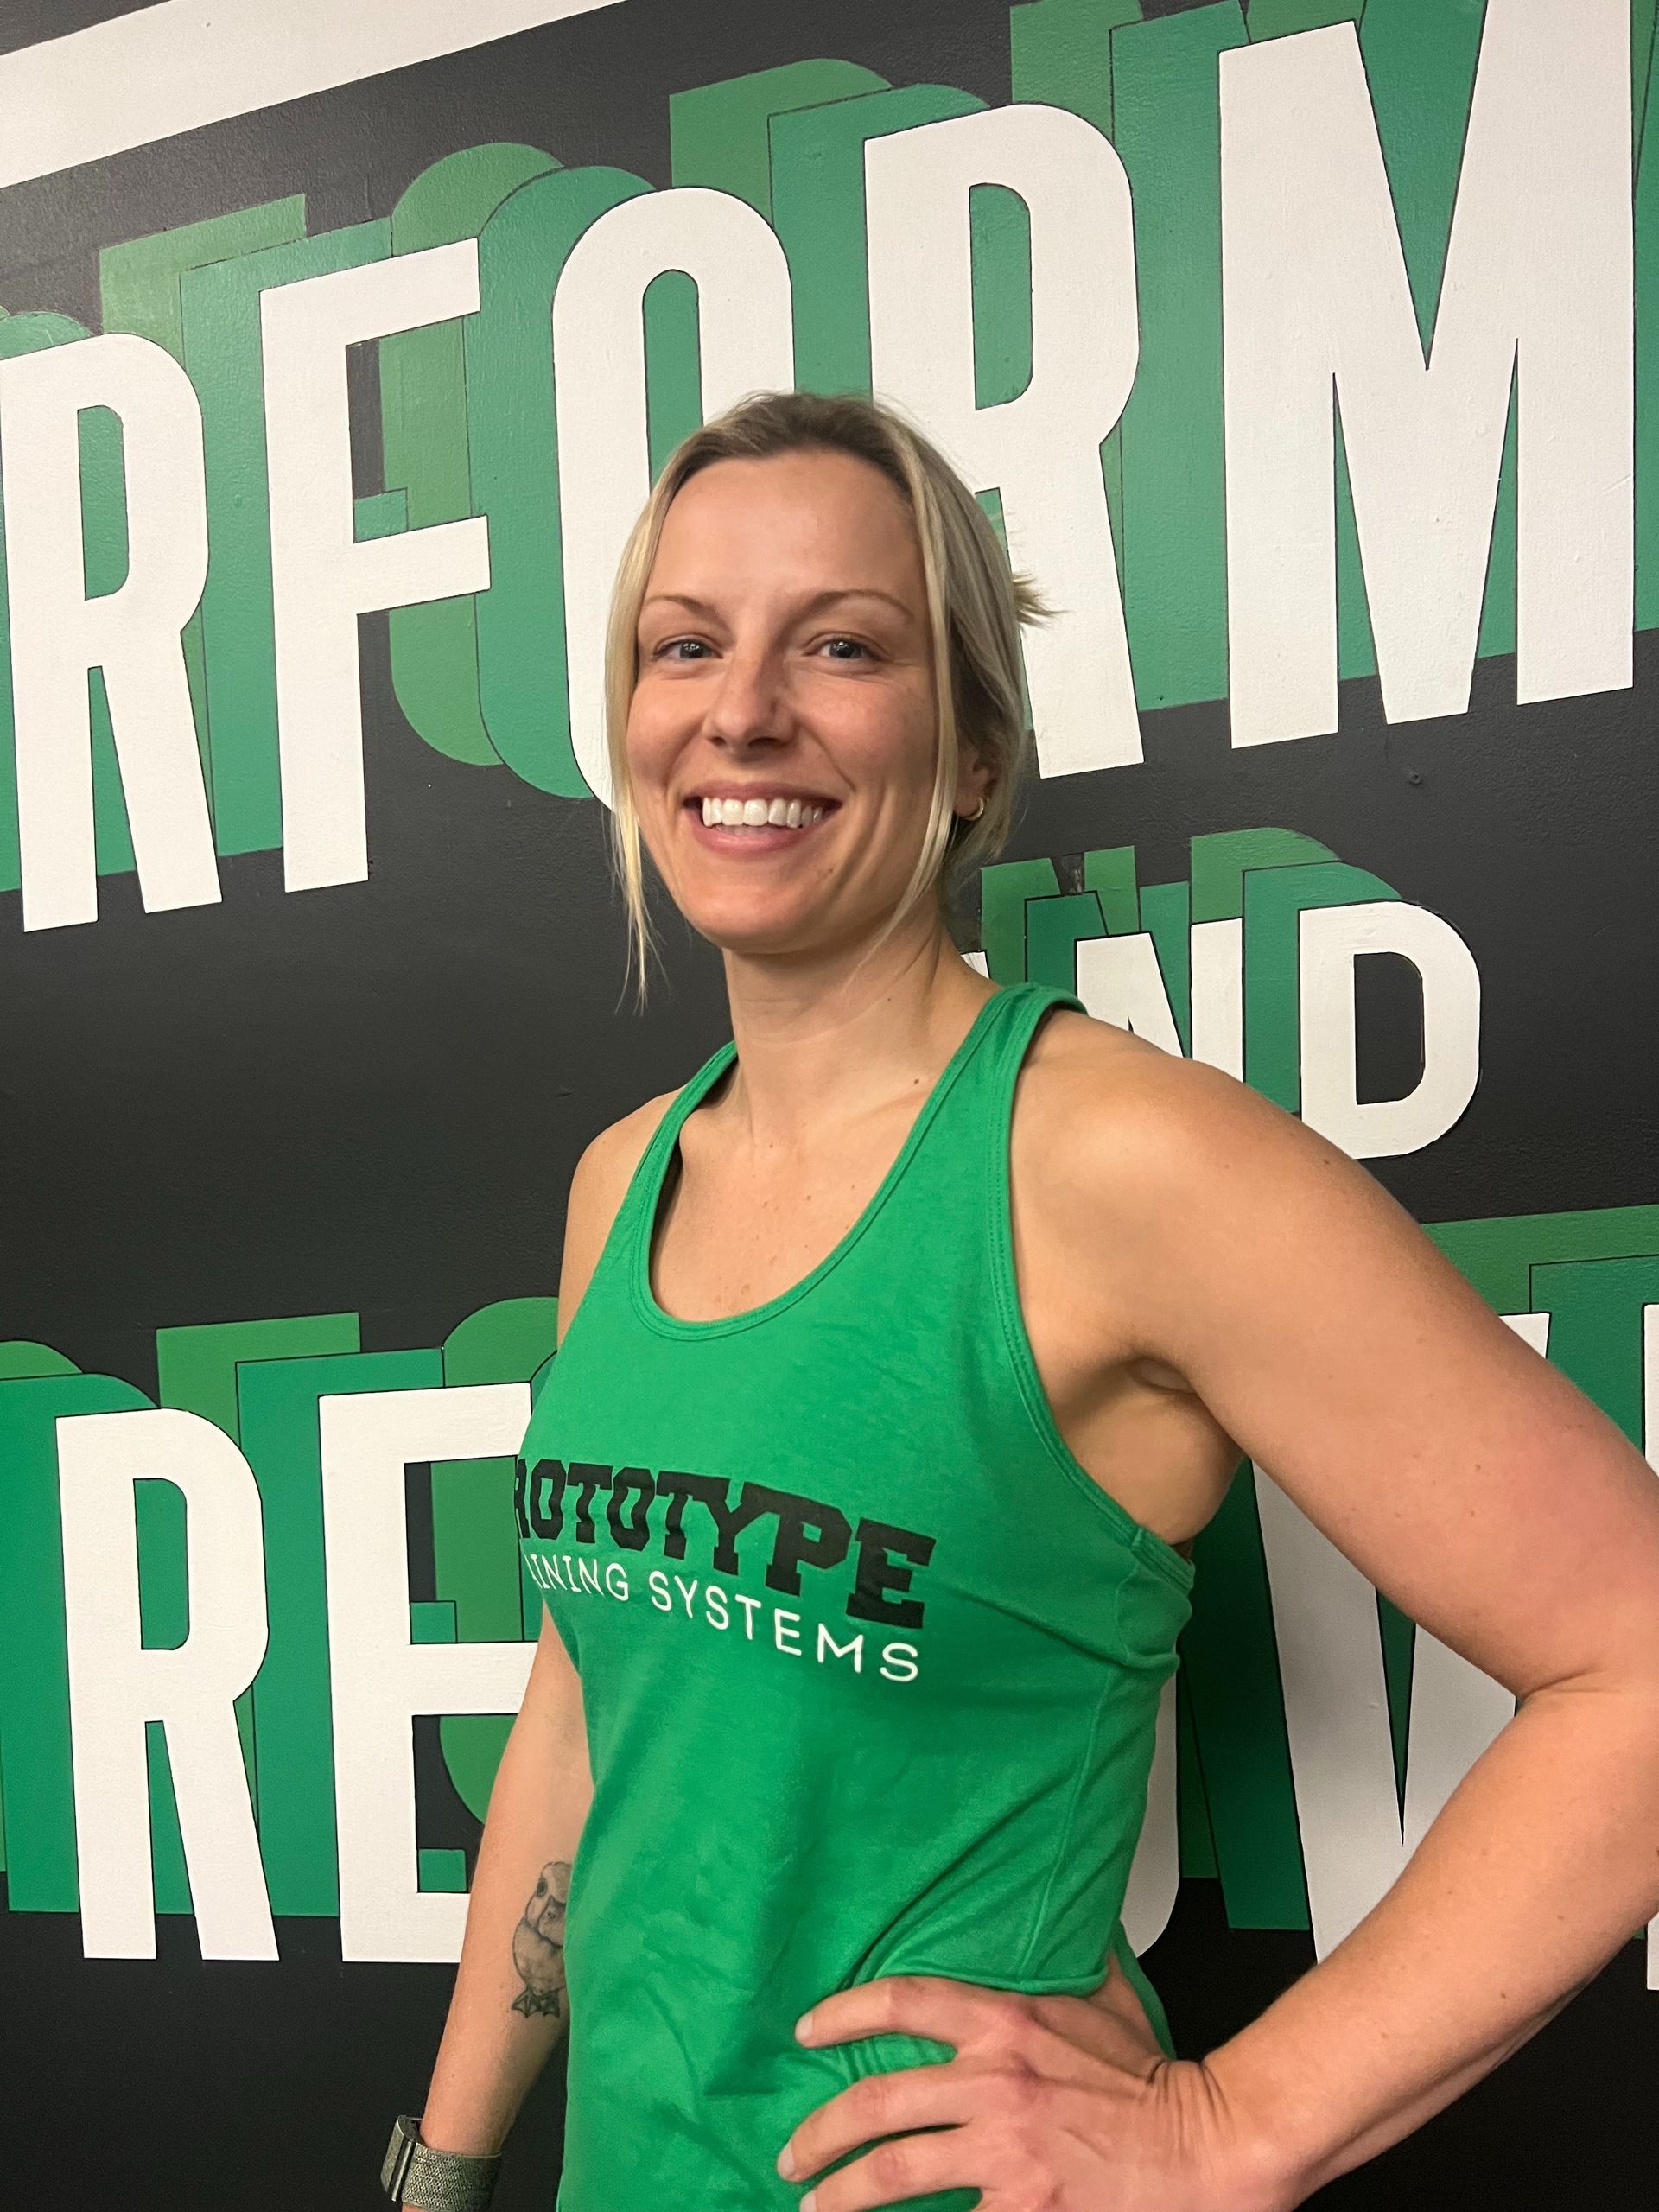
Gillian Barry
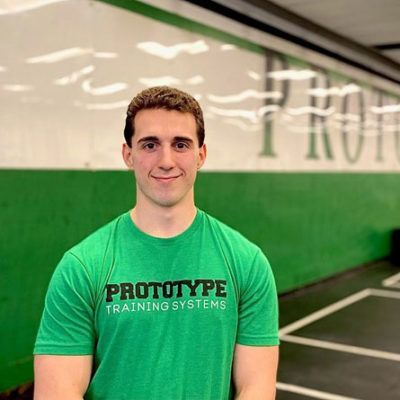
Jon Collette
Abhi Das
Garret St. Onge
Tony Pittman
Jack Levy
Jason Fam
follow our 3 step process
Want to Get Started at Prototype?
01.
Schedule My Free Intro
Book A Free No Sweat Intro with one of our Coaches which can be done in person or virtually.
02.
Create A Custom Plan
At your No Sweat Intro, your Coach develops your personalized training plan based on the goals you are trying to reach.
03.
See Amazing Results
Start, have fun, enjoy the journey!
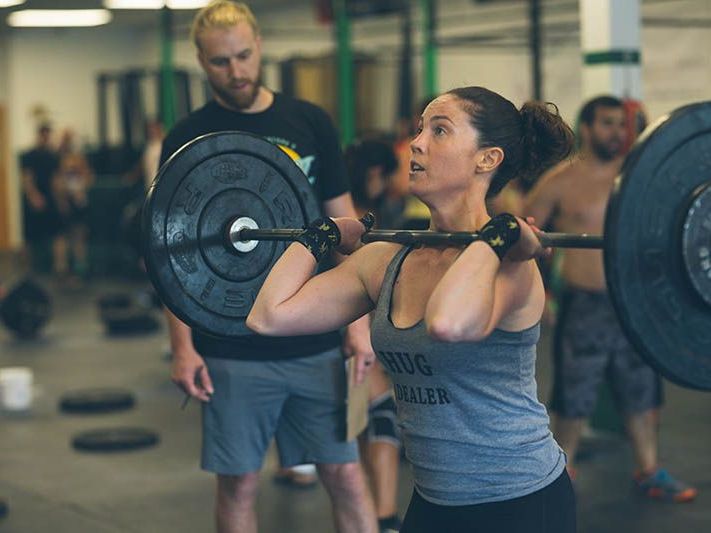
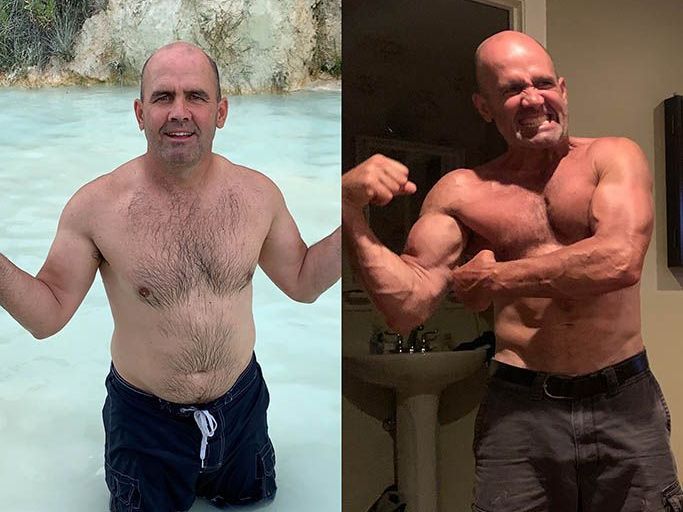
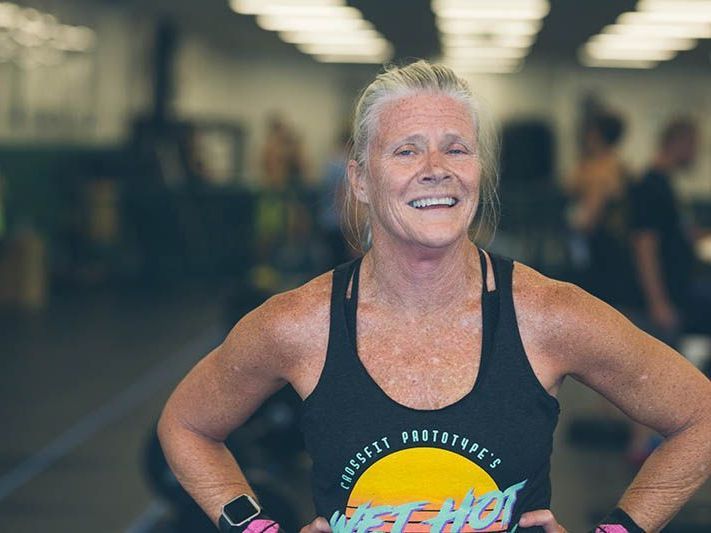
client stories
From the Gym
See how we've helped transform the lives of our members!
Dr. Annie Powell
I wish I could give them even more than a 5 star recommendation.
“I have been a loyal member of Prototype since 2012 and I simply cannot say enough good things about it! As a physician, I am continually impressed by the elite knowledge of exercise physiology and corrective exercise that the coaches possess.”
Dan McCarthy
I recommend this gym to anyone and everyone!
“I could definitely go on and on about meeting great people, learning a ton from the knowledgeable and caring staff, and feeling great about my progress- but I think you get the message.“
Jean Hanks
It’s a big family.
“Prototype has been my happy place for almost 8 years. I have met so many wonderful people, been involved with the community, became physically and mentally stronger and just have so much fun. I was really worried about what was going to happen with the gym during the closing.“
Follow Us on Socials
@prototypetraining
Stay in the loop and follow us on social media for the latest updates, workouts, and inspiration! Connect with our community and get exclusive access to fitness tips, event announcements, and special promotions.
Prototype Training Systems isn’t just a gym
Prototype Training Systems is it’s your training arena for life.